Photoshop Reflection/Masks
First off, to me Mahnoor’s images are the strongest in the class. The way there is light falling in the doorway seems like it is coming from the aquarium water. The windows to the side of the door create an added sense of realism. The open door is inviting and the overall image has a gentle playfulness to it. I think it would have been really fun if she included a silhouette of a person opening the door, or if there were more fish swimming, or if the fish were darker. But the current work stands by itself. It really creates an world for me where there is water just outside, waiting.

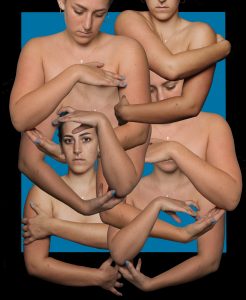
I didn’t go into this project with concepts, just visions. I ended up in the studio for around 4 hours on Friday working through my ideas in more depth which was satisfying. In this time I got used to using the basic tools in a more intuitive way. Hearing the thoughts of my peers and Prof. Ruby today in the critique helped me actually think about the deeper meaning that was inherent to the images I chose. Some of the conclusions I liked the most:
- No eyes= the fact there is no seeing in the first image, while the eye in the second image focuses seeing
- The mirror, the soul could be trapped in the mirror
- The self is evaporating, ethereal, while the table is grounded and strong.
- Inside vs outside spaces
While these were other people’s interpretations, I agreed with them. The biggest conclusion I can draw for myself has to do with gender, how other people see my gender in a way that I do not, so my seeing is often of no importance. How other people see me has nothing to do with how I see myself. How other people see me invokes the lips and speaking, while the mirror, with me taking a selfie, is the small part of me that is trying everyday to capture how I see myself.
Here are the images I used=


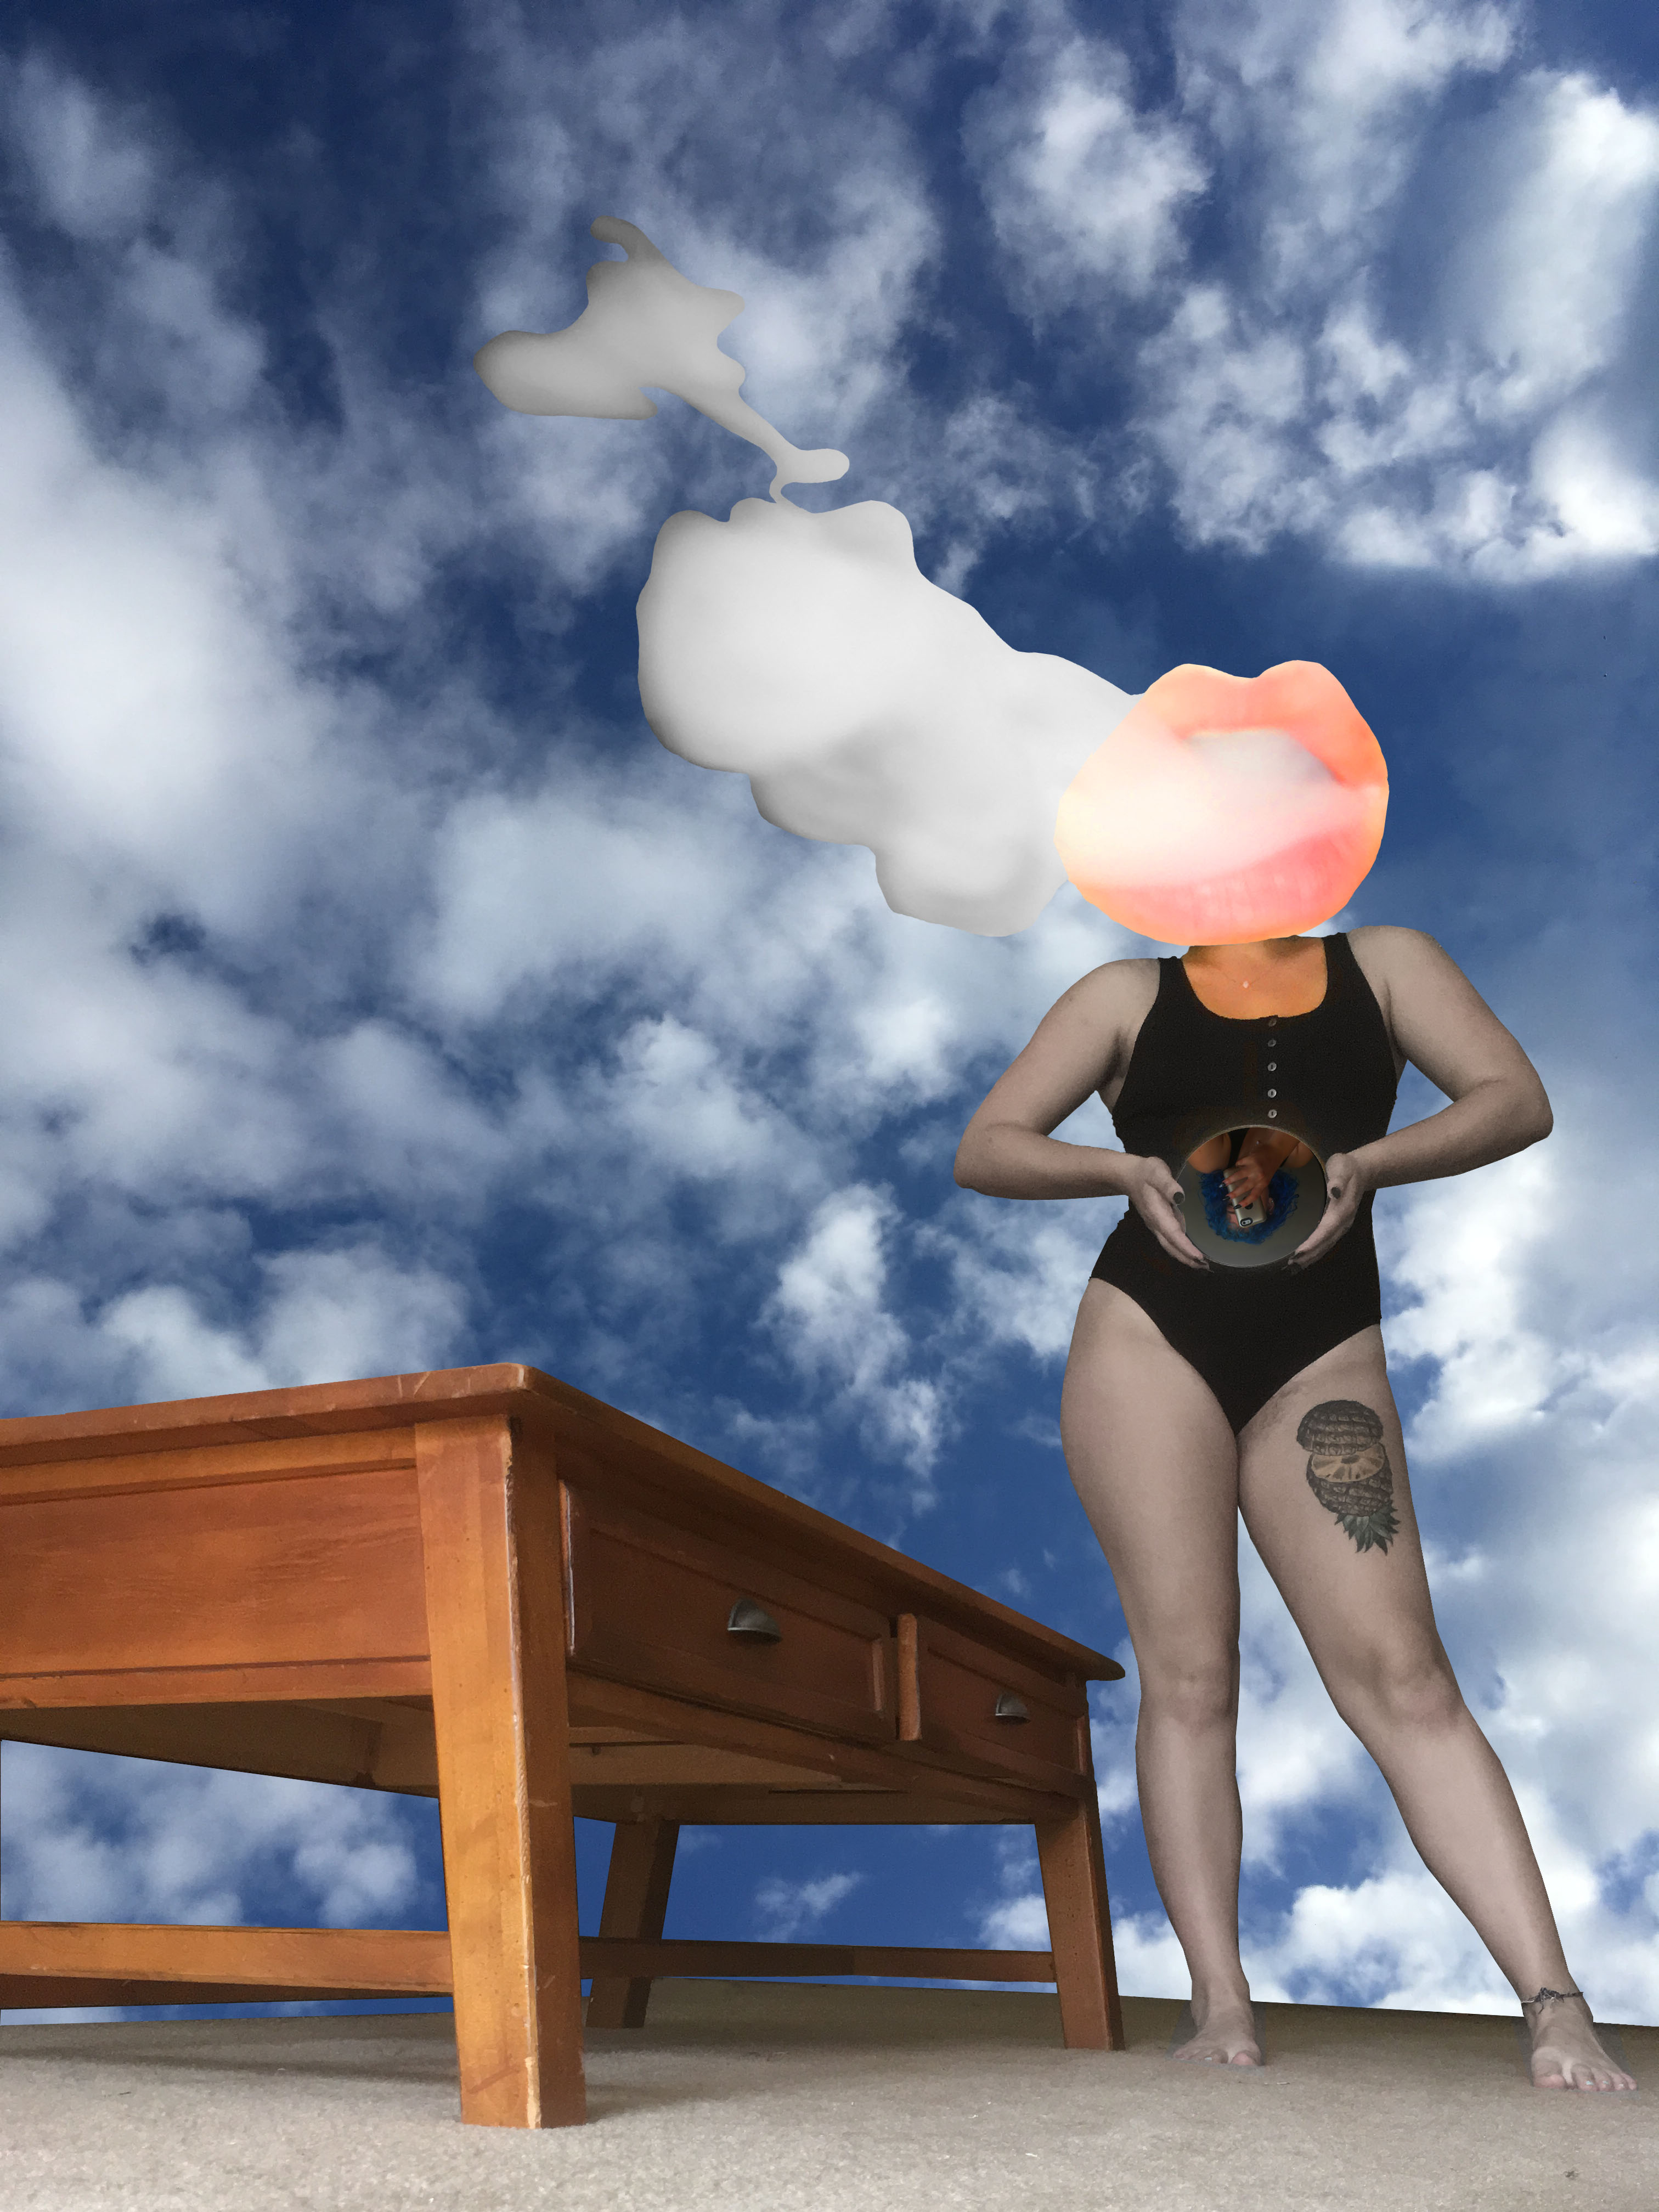
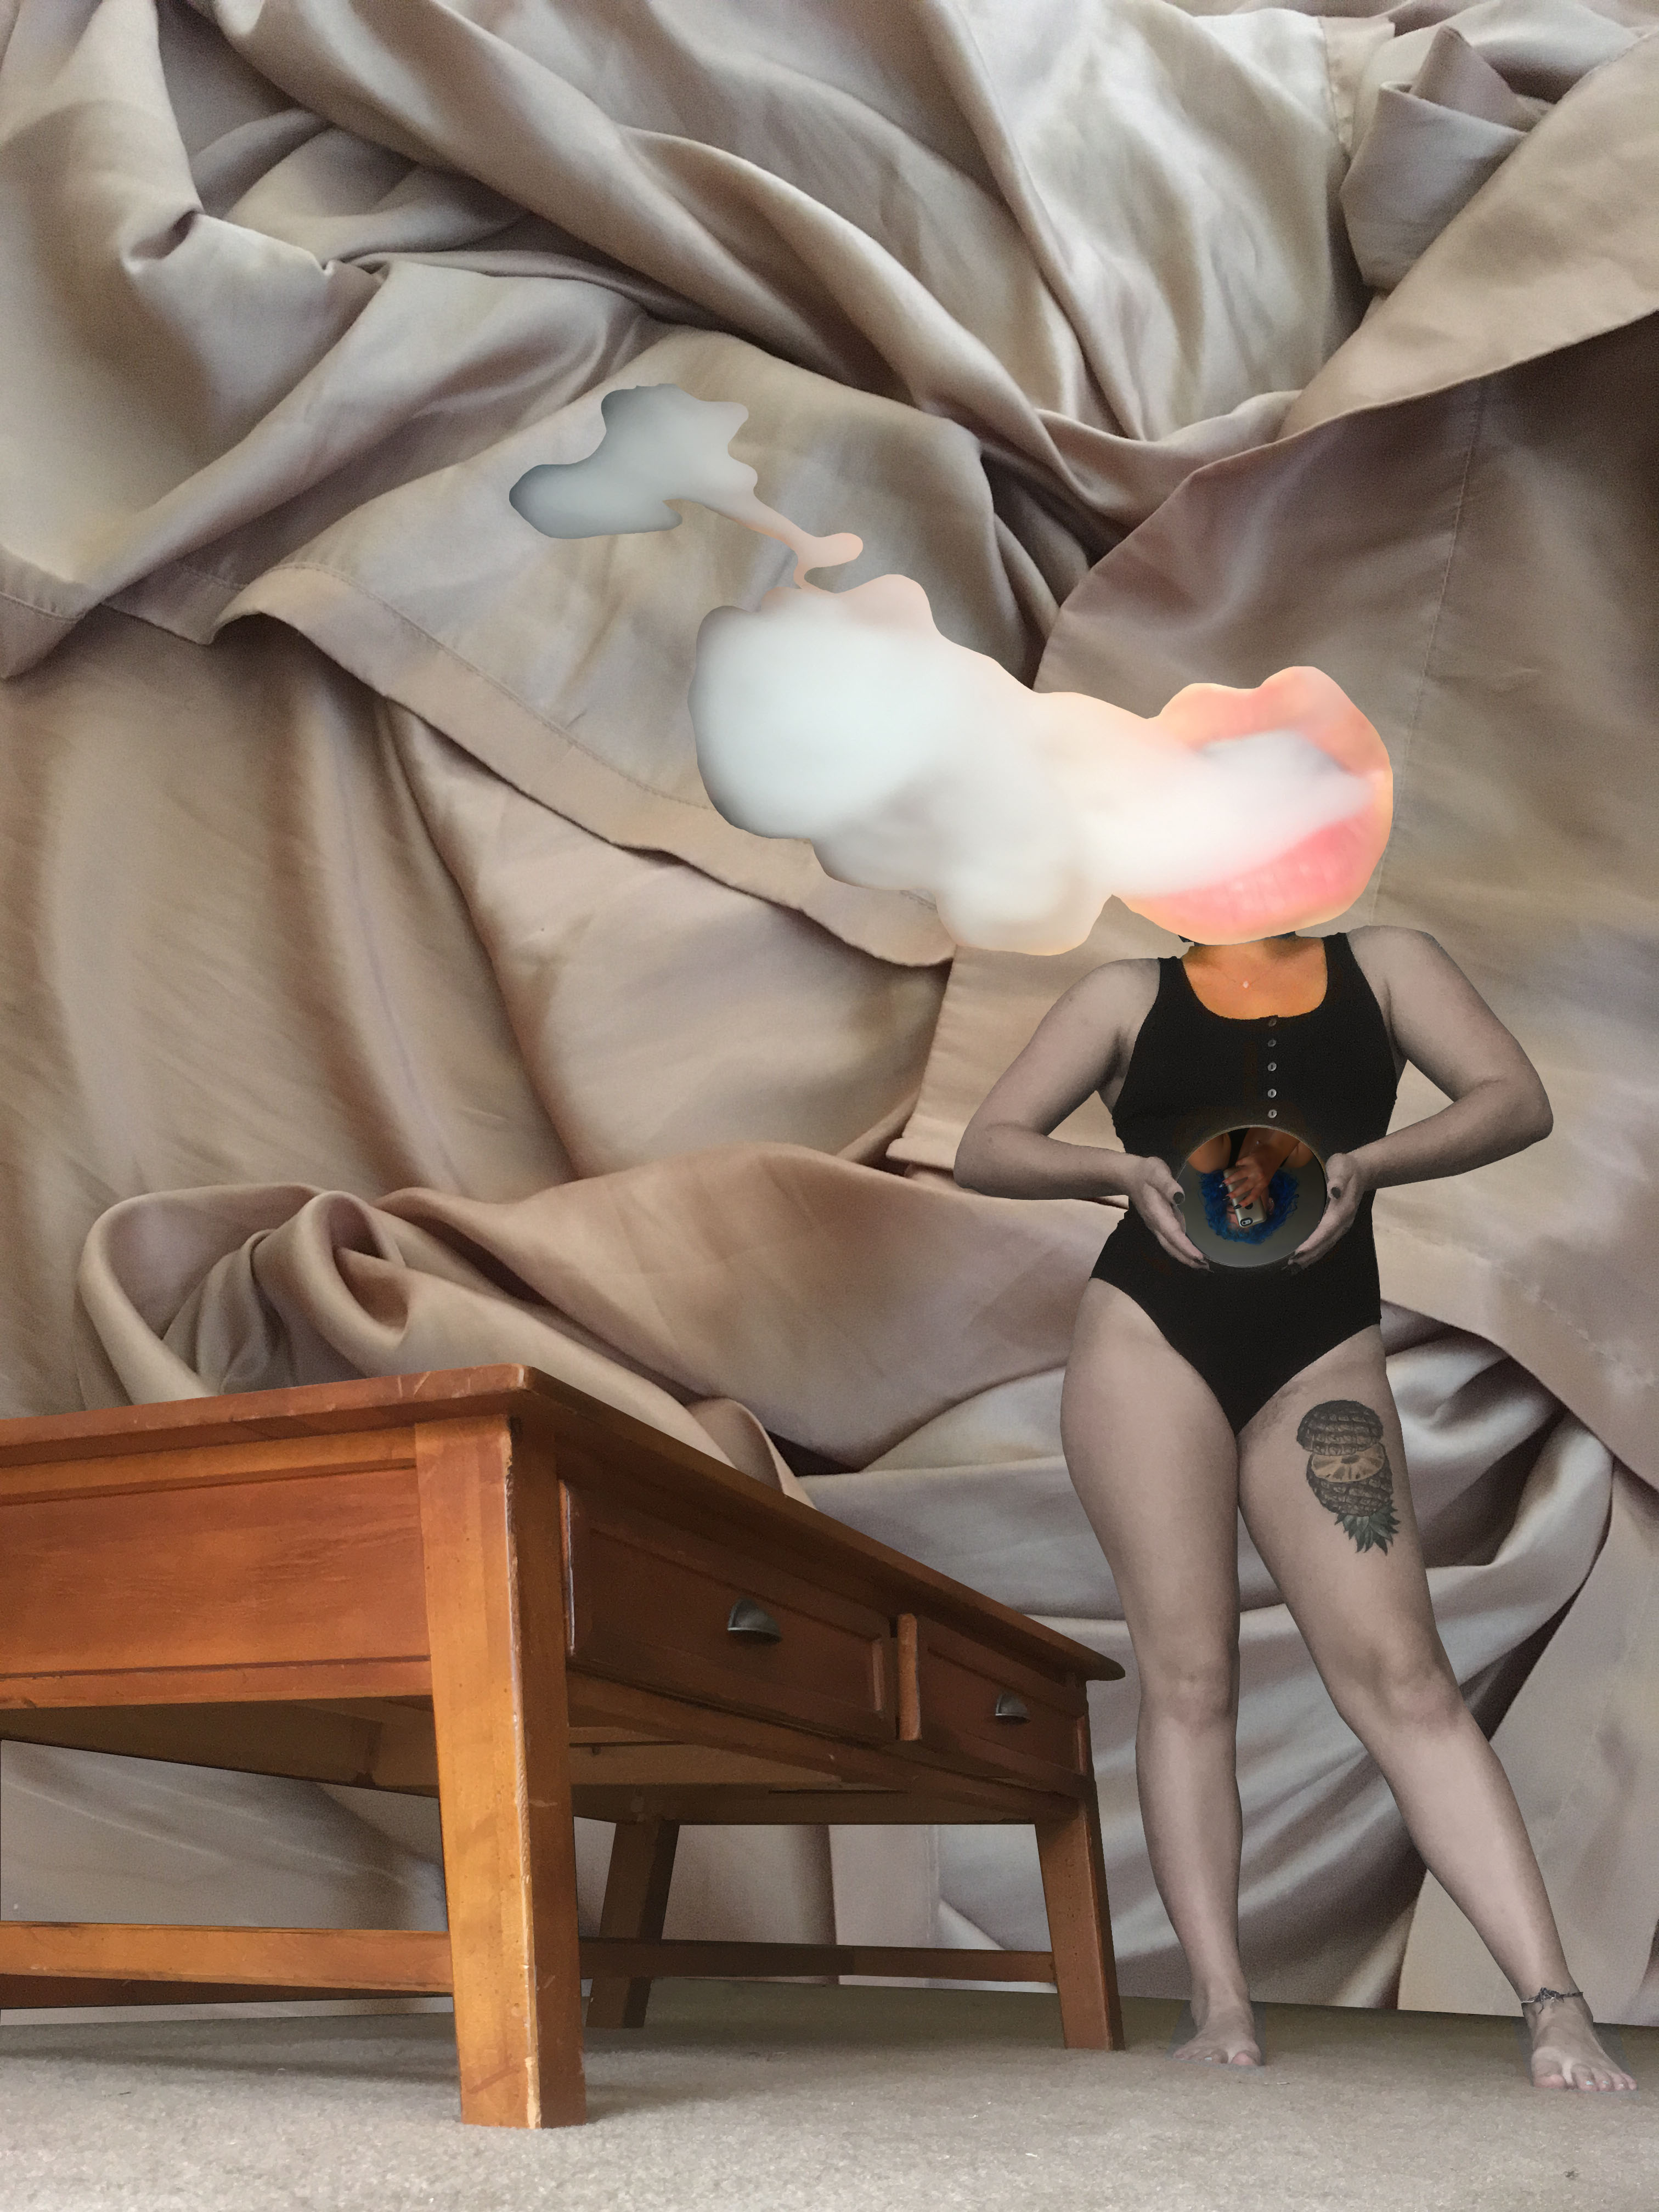
Here are my final 3 images=

Masks!
The tool that was most important to me during this process was masks. I watched this very helpful video- https://helpx.adobe.com/photoshop/using/masking-layers.html
How to do masks!
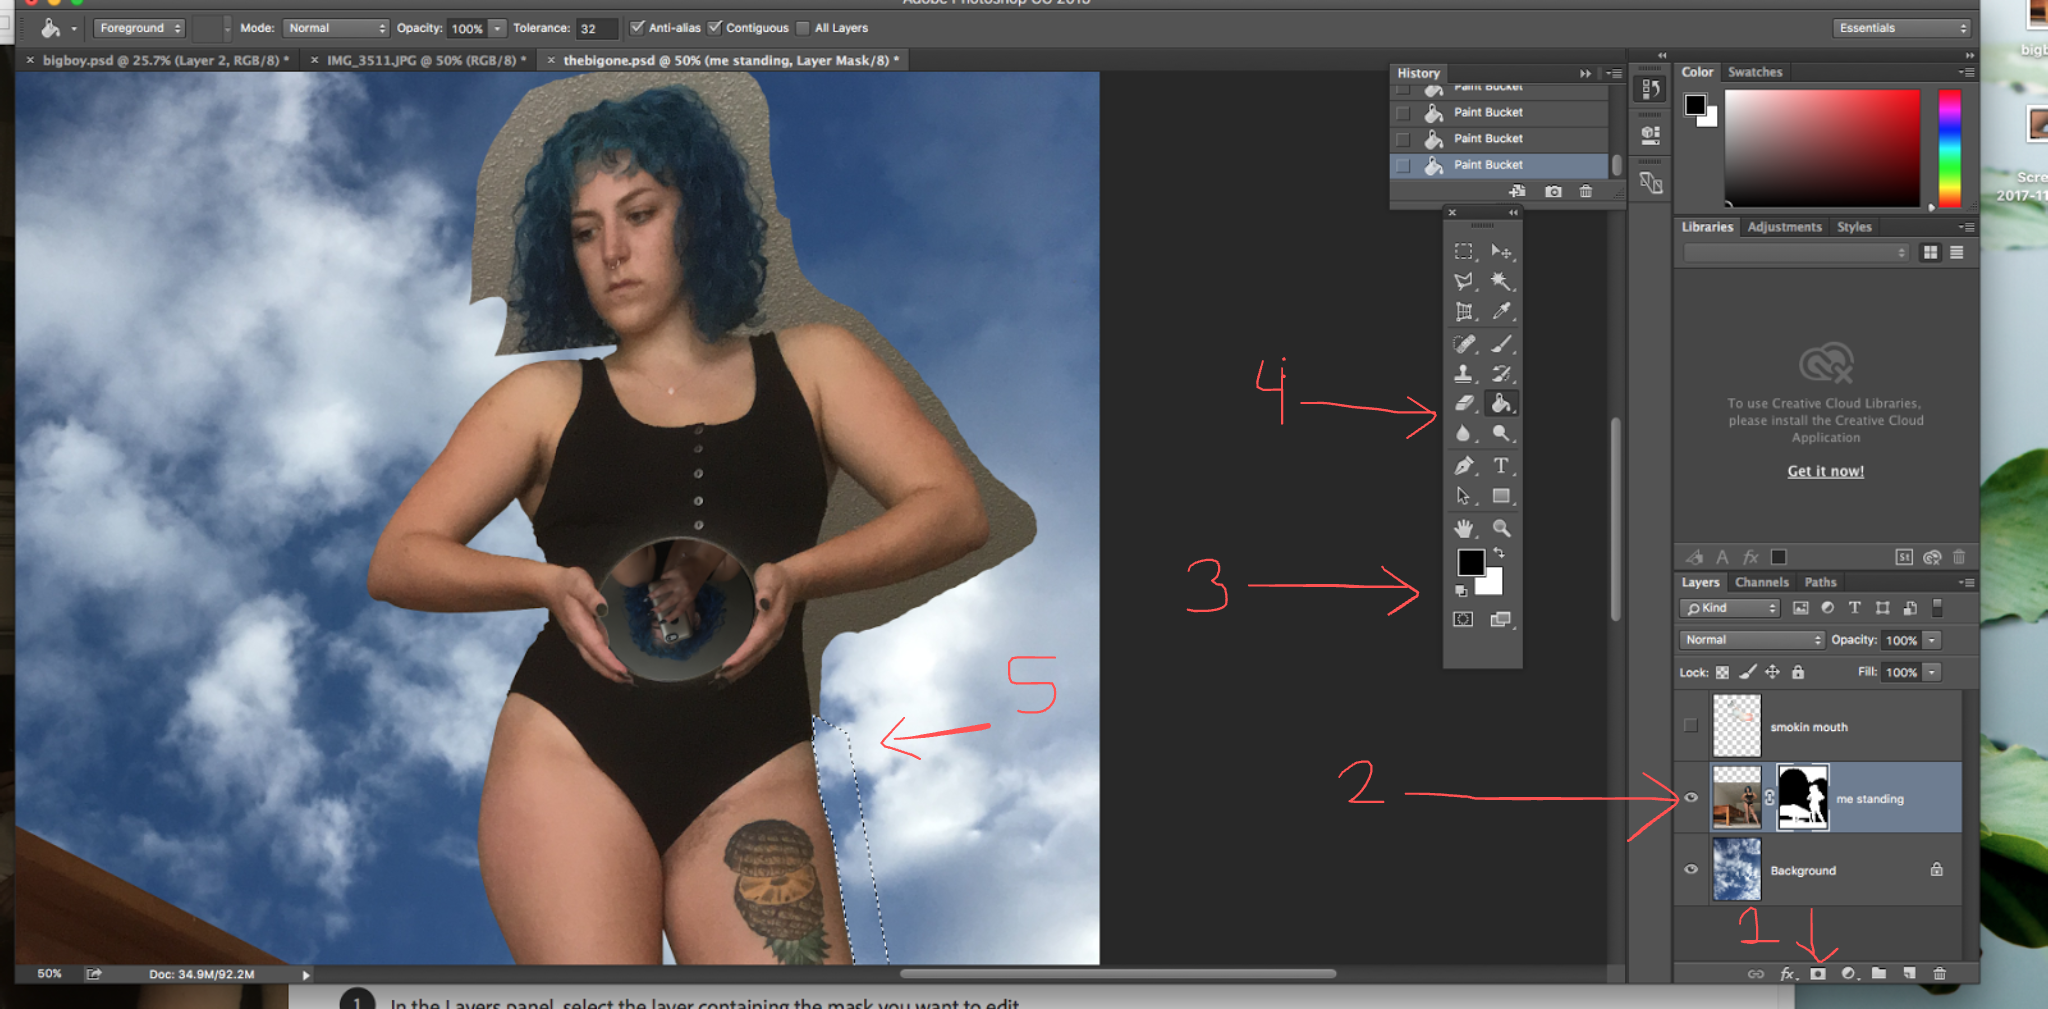
- Click on the mask button on the layer you want to work with. For example I wanted to take the background away in the picture of me standing so we could see the could underneath.
- Yay you made a mask! You can see it on the layer. To work with it make sure you have selected the mask itself, not the image.
- Make sure your color palette is black and white. Black creates the background, while erasing/white adds back the frontmost picture. For example if I accidently covered up too much of my body with sky, I could erase the sky with white to reveal more of my body again.
- I found that making selections and using the paint bucket tool was a lot faster than just using the tablet, however I did use the tablet and pen function to do much of the piece.
- You can select the part of your photo that you want to make into the background with one of the selection tools and use the paint bucket to fill it.

I hope this was helpful!!